


Typically, backdrops come in the form of a big roll of whatever fabric you choose to get, such as velvet, and felt. The colors of fabric that I would recommend for a backdrop would be either black, grey or white depending on what the model is wearing. Another thing to consider is using a green screen and changing the color of the background later in Photoshop. Black velvet is always a good choice because it has a quality where it can absorb light, giving a nice rich, darker black. To set up the backdrop you need a strong enough stand to support or over hang from the ceiling it.
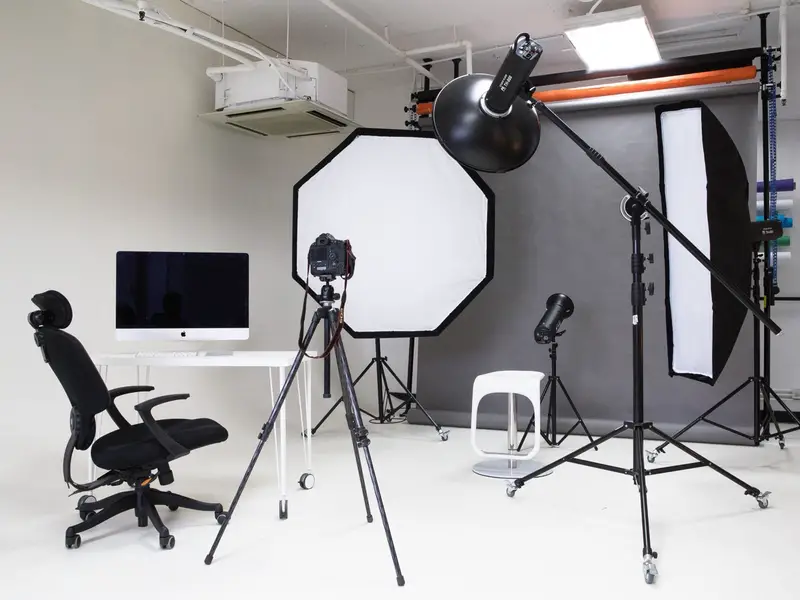
The main light has to be placed in a very specific position in comparison to the model. The angle, height, and distance of the main light are vital to getting the right look. You do not want this light in the models eyes or from a side angle. It also needs to be placed at a good height so you are not casting shadows on the models face. With this light you need to use a diffuser or a soft box to help decrease the darkness of the shadows in the picture.
A hair light is a second light that sits in a specific position. Basically, the hair light is placed behind the model for a few reasons. To use this light correctly attach a snoot to it. A snoot is an attachment to the light that helps direct the light to a specific spot on the model; in this case it is for the hair.
The camera, you need to connect your camera with the studio lights so everything flashes in the right connections. There are a couple of was to handle the camera for a photo shoot. One of the ways is to put it on a tripod and keep the camera stationary. By doing that you will help eliminate blur and you can find a sweet spot to stay at. Another way is by just holding the camera and creating different angles while the shoot is happening.
The reflector is used to bounce light onto the models features from the main light. There are a few different types of reflector; you could use a white, black, gold and silver colored reflector. You would want to use a white reflector when the area you are taking a picture in does not have enough light. A black reflector would be used to take away light when there is too much shine washing out the model. A gold/silver reflector is for the happy medium, but find what works best for you and best for the situation in general.
Finally, the model is the last thing you need to use the studio set up that you have. For someone just starting I would recommend starting with a family member or a friend.